
Last updated November 15, 2026
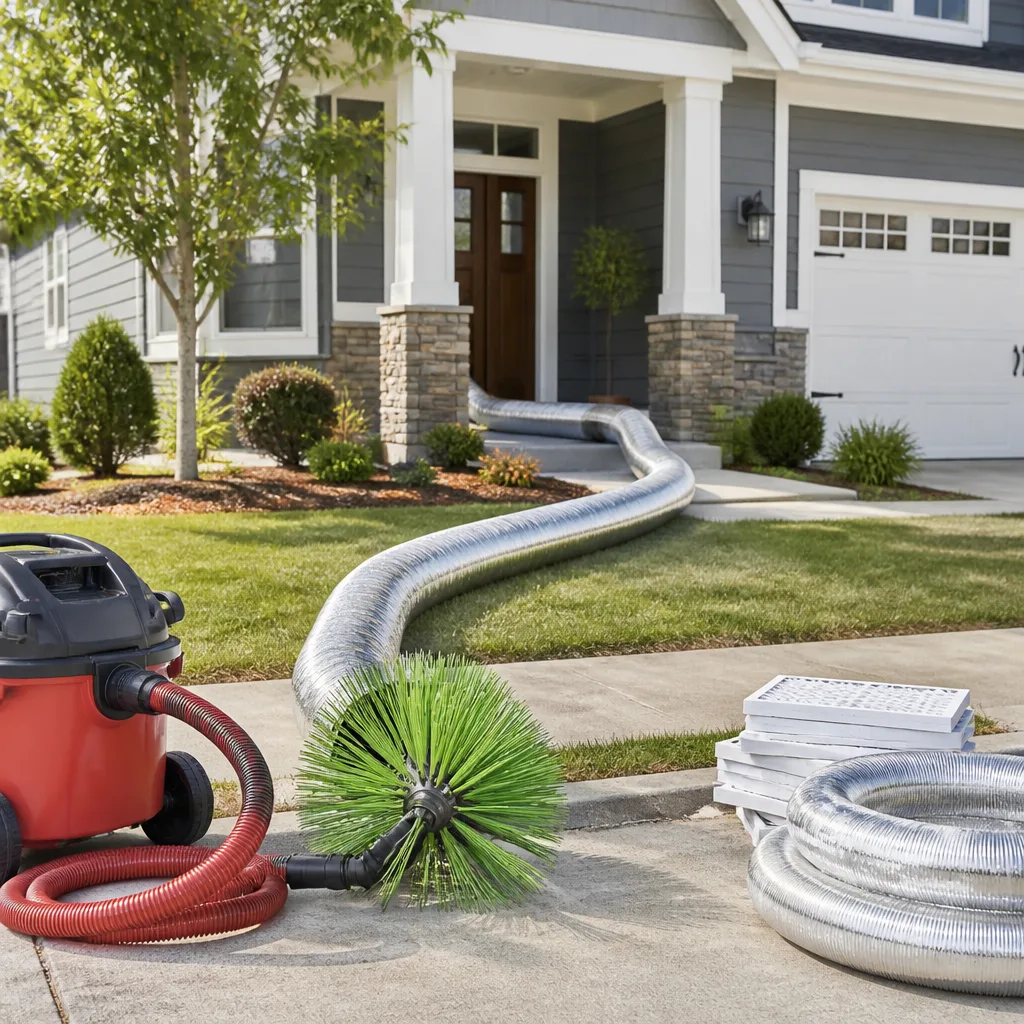 Whole-home duct cleaning
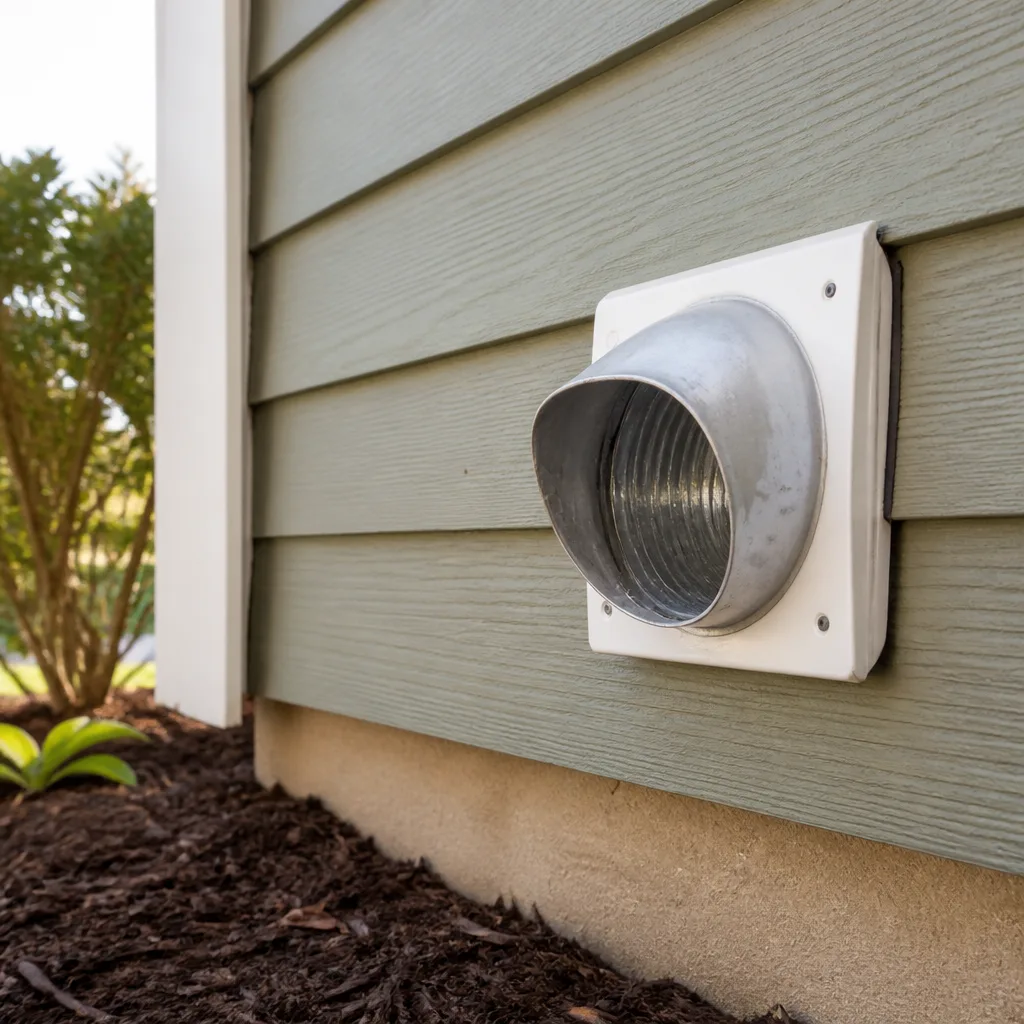 Dryer vent cleaning
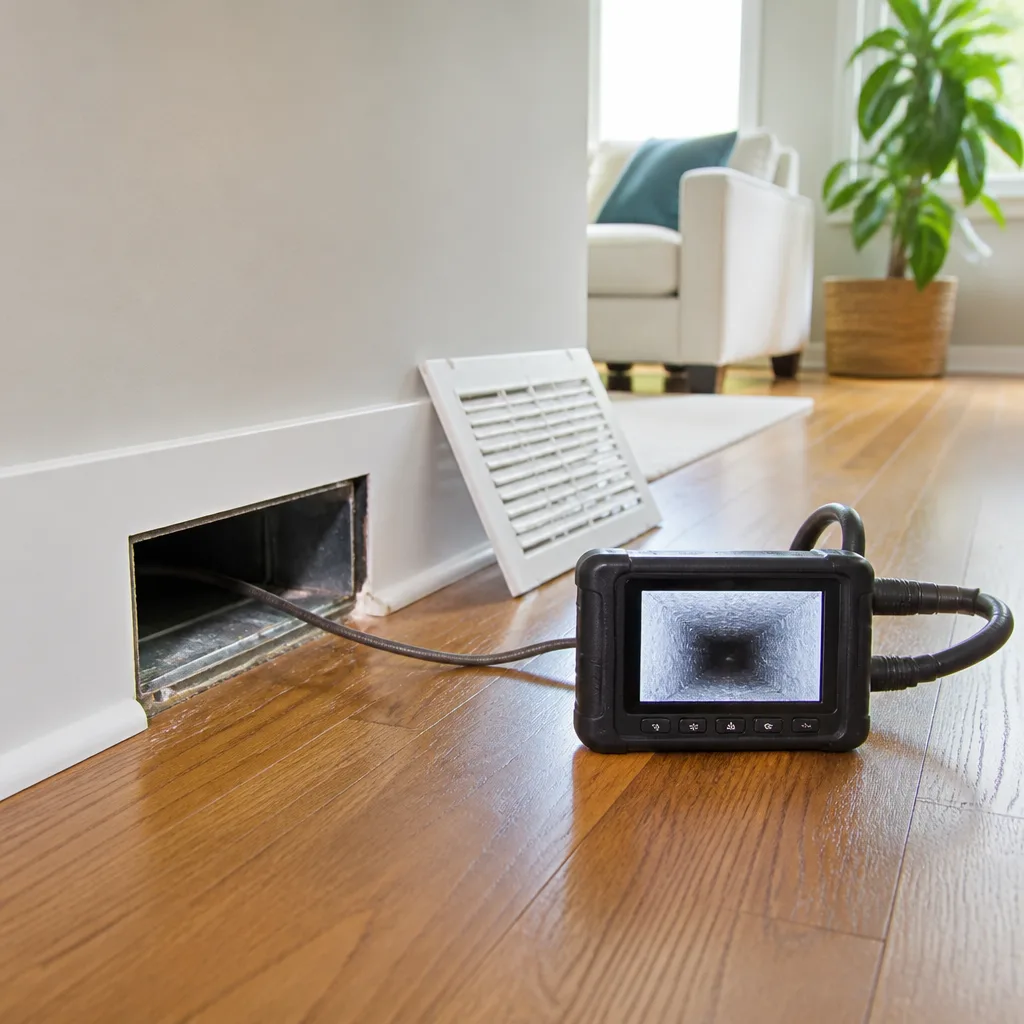 Camera inspection
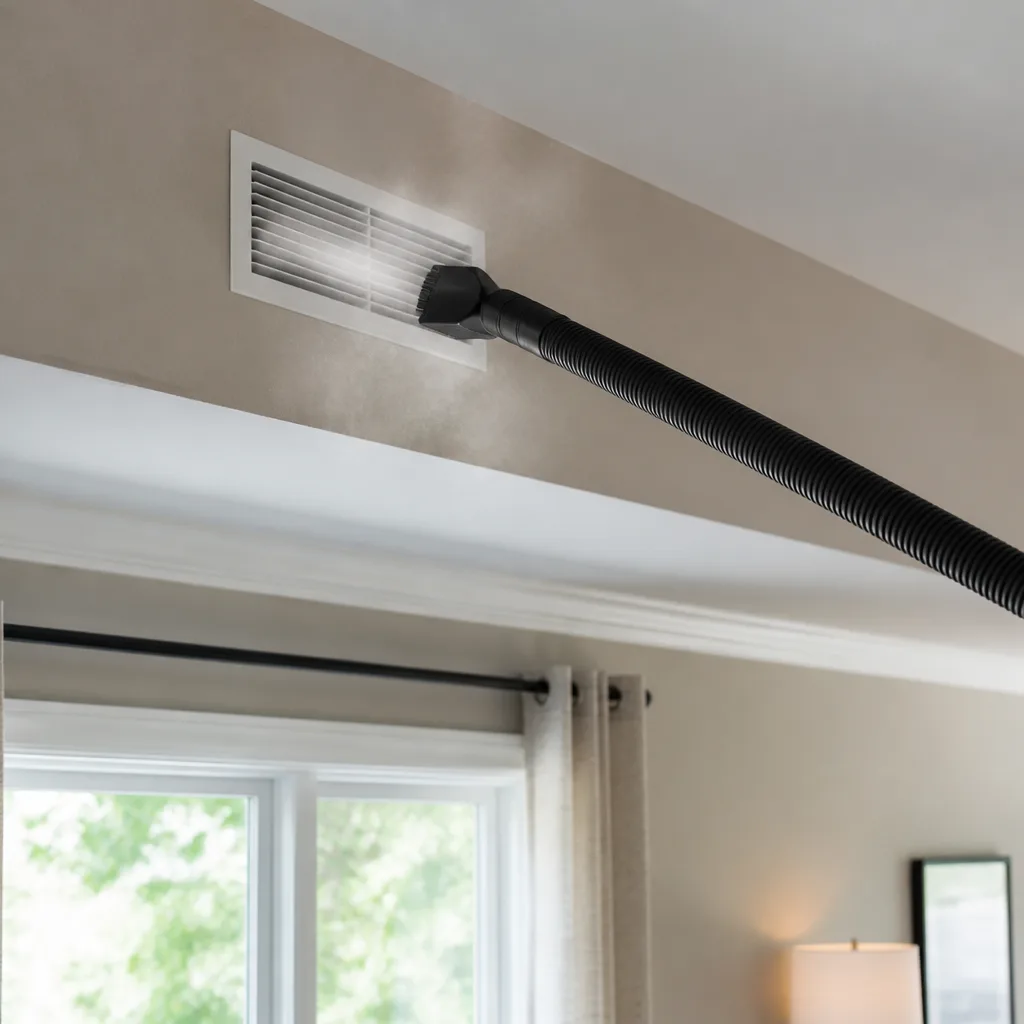 Sanitizing & deodorizing
Whole-system duct and dryer vent check with before-and-after photos - you see exactly what came out of your vents
That "$99 whole-house special" is a bait ad - the real number appears once they are in your hallway, or the "clean" is a shop-vac at the register. We photograph the inside of your ducts before and after instead.
The Complete Guide to Air Duct Cleaning in St. Paul
Most St. Paul homeowners choose a duct cleaner the way they choose a restaurant: by the coupon. That is exactly backwards. The equipment and the sequence of steps a provider follows determine whether your ducts come out cleaner or merely disturbed, and no price tag tells you which one you’re getting. A negative-pressure system that can’t hold at least -0.5 inches of water column isn’t cleaning your ducts – it’s stirring them. Few homeowners know this spec exists, let alone how to verify it before signing off on a job. This guide walks through what actually happens inside a duct system during a proper cleaning, why St. Paul’s older housing stock changes the job, and how to judge any provider by their process instead of their pitch.
Quick Answer
A proper air duct cleaning in St. Paul follows a strict three-stage sequence: establish negative pressure on the whole system, agitate the dust bonded to duct walls, then remove the loosened debris at the source. Skip any stage and contamination stays behind. Older plaster-and-mixed-metal homes common across St. Paul make those stages harder than in newer suburban builds, which is why equipment quality and repair capability matter more here than raw price.
Styles & brands we work with
- Whole-home duct cleaning
- Dryer vent cleaning
- Camera inspection
- Sanitizing & deodorizing
Table of Contents
- Why Older St. Paul Homes Are Harder to Clean
- The Mechanical Sequence of a Real Cleaning
- What Negative Pressure Actually Does
- What NADCA ACR Standards Require vs. What You Often Get
- Why Minnesota’s Heating-Heavy Climate Changes Your Debris Profile
- How to Confirm the Work Was Done Before the Technician Leaves
- The Equipment That Separates a Real Cleaning From a Rush Job
- When Your Ducts Need Repair, Not Just Cleaning
Why Older St. Paul Homes Are Harder to Clean
St. Paul’s housing stock is one of the real variables in this trade. Blocks of pre-1970 homes across neighborhoods like Summit Hill, Dayton’s Bluff, and the pockets around Hamline-Midway were built with plaster walls and long, irregular duct runs that snake around structural beams rather than moving in clean straight lines. Mixed-metal systems are the norm: sections of galvanized steel joined to older materials, with transitions that shift diameter as the duct routes through a house that wasn’t designed around airflow.
What that means practically:
- Dust and debris settle in the low points and elbows of long runs, not just in the trunk line.
- Older joints, taped seams, and mechanical connections can loosen over time, letting dirty air leak into wall cavities.
- Rigid-plaster ceilings and finished basements limit how much the technician can open up to access runs.
- Some systems still contain interior lining material that requires gentler contact cleaning than bare metal.
A shop-vac-style setup or a light truck-mount vacuum won’t move enough air volume to pull debris out of the far end of a twenty-foot run buried behind plaster. The equipment has to be strong enough to overcome the pressure loss across that length. That’s why the mechanical realities of a St. Paul home shape which providers can actually finish the job and which ones will leave the tail end of the system untouched. For a full walkthrough of what air duct cleaning involves in this city specifically, we lay out the local picture there.
The Mechanical Sequence of a Real Cleaning
There are three stages, always in the same order: negative pressure, agitation, source removal. Miss one and the job isn’t done. Here’s how each stage works and why the order matters.
- Establish negative pressure. A high-volume vacuum is connected to the main trunk line and sealed. This puts the entire duct system under suction so loosened debris is pulled toward the collection point rather than drifting into living spaces. The vacuum has to hold suction, which means every register gets sealed off during the cleaning.
- Agitate the duct walls. Dust doesn’t sit loose on metal – it clings. Rotobrush contact-cleaning tools with rotating whips and brushes physically break the bond between the dust layer and the duct wall. Compressed air tools reach corners and elbows where contact tools can’t work. This step is where a real cleaning separates from a rushed one.
- Remove at the source. Only after the debris is airborne does the vacuum actually capture it. The source-removal stage happens continuously through the agitation, not afterward. If agitation is skipped or rushed, the vacuum only removes what was already loose, and the bonded layer stays put.
- Clean the components downstream. Registers, grilles, supply boots, and the furnace blower compartment all collect the same debris and need attention so contamination isn’t immediately reintroduced.
- Verify and document. Before the technician leaves, they should be able to show you what came out and offer before-and-after photos of your own ducts.
The reason this sequence is the single most useful thing to know as a homeowner is that skipping a step is invisible if you don’t know what to look for. A provider who runs a vacuum without meaningful agitation will finish a house in under an hour and leave behind most of what made you call.
What Negative Pressure Actually Does
Negative pressure means the pressure inside the duct system is lower than the pressure in the room. Air moves from high pressure to low pressure, so dust and debris in the ducts get pulled toward the vacuum intake instead of floating into your kitchen. Two things make this work: the vacuum has to move enough cubic feet per minute, and the system has to be sealed so every register is pulling air in rather than leaking it from somewhere else.
The number you’ll hear from serious cleaners is -0.5 inches of water column. That’s the minimum vacuum reading a system should hold during cleaning. Below that, the pressure differential isn’t strong enough to reliably capture loosened debris from a long lateral run – especially in the older, longer duct configurations common in St. Paul. It’s not a marketing number. It’s a measurable spec, and the right equipment will hold it while every register is capped and the vacuum is running.
If you want to verify this during a job, ask two questions before the technician starts: what vacuum pressure will the system hold, and how will all the registers be sealed? A provider who can answer those directly and demonstrate the gauge reading is showing you they understand source removal. A provider who changes the subject isn’t. This is also where equipment from Rotobrush and Nikro matters in practice – professional contact-cleaning systems and vacuum setups from those lines are the ones that can reliably hold that pressure through a real cleaning.
What NADCA ACR Standards Require vs. What You Often Get
The NADCA ACR standard (Assessment, Cleaning, and Restoration of HVAC Systems) is the trade’s baseline for how duct cleaning should be performed. It’s not a law in Minnesota – no state agency enforces it on residential work – but it’s what any provider who takes the trade seriously follows, and it’s what you should expect. Here’s the gap between what the standard calls for and what a lot of local service delivers.
- Full system cleaning, not just visible runs. The standard requires attention to all HVAC components that contact the airstream. Many budget crews clean the main trunk and visible branches and leave the boots and blower compartment untouched.
- Negative pressure during cleaning. The standard assumes source removal with the system under working negative pressure. Some low-cost setups run a handheld vacuum from register to register without sealing the system or establishing meaningful pressure.
- Documentation of condition. The standard expects the technician to assess the system’s condition before cleaning and to know what they’re dealing with – debris type, moisture, damaged components. A rush job skips straight to the tool.
- Restoration where needed. If a seam, joint, or section of duct is compromised, the standard assumes it will be addressed. A clean-only crew cleans around the problem and leaves a duct that will leak renewed debris back into the system.
We follow a professional process aligned with this thinking because it’s the one that produces a genuinely clean system – not because a single standard guarantees every provider hits it. As you compare quotes, ask directly how the provider handles the blower compartment, how they seal the system for pressure, and what they do if they find damage. The answers will tell you which part of the market you’re talking to.
Why Minnesota’s Heating-Heavy Climate Changes Your Debris Profile
Minnesota runs on its furnace far more than milder regions run either furnace or AC. That heating-dominant climate produces a different debris profile than homeowners in, say, Texas or Florida would see – and it changes what a cleaning has to focus on.
- Dry, heated air dries out and cracks interior dust layers, which then flake off and travel through the system instead of sticking to the walls.
- Furnace filters load faster during the long heating season, so filter discipline matters more here than in climates with gentler winters. A clogged filter passes more dust downstream.
- Static and low winter humidity can encourage fine dust to cling to duct walls, which is exactly the layer that agitation has to break.
- Air conditioning runs seasonally but shorter, so AC-side duct branches often accumulate more settled debris than the heating side because they don’t get as much airflow cycling through them.
- Home renovations common in St. Paul’s older neighborhoods – updating kitchens and baths in pre-1970 homes – introduce construction dust into the ducts that requires explicit source removal, not just surface attention.
The practical takeaway is that in St. Paul, a cleaning that focuses only on the furnace side misses a meaningful chunk of the system. Both supply and return sides need attention, and the return side often carries the heavier load because it’s what pulls debris toward the blower. This is also why air handlers and blower compartments matter here more than they would in a milder climate – they log so many hours over a winter that a neglected blower compartment spreads fine dust through every room.
How to Confirm the Work Was Done Before the Technician Leaves
Before anyone climbs back in their vehicle, you should be able to answer three questions: what came out, how the system was cleaned, and whether anything was found that needs repair. Here’s a practical verification checklist.
- Look at what was collected. A real cleaning produces a visible quantity of debris in the containment system. Ask to see it, and ask where it came from.
- Ask for before-and-after photos of your own ducts. Not stock photos, not the company’s website. Before-and-after photos of the ducts inside the home you’re standing in. This is the single best piece of evidence that the agitation stage actually happened.
- Spot check a register or boot. Open a supply register and look up into the boot. If the walls inside are still coated, the cleaning was incomplete. This is a live diagnostic you can do yourself.
- Verify the seals were re-attached. Every register the technician removed should be back in place with a proper seal. Loose registers reintroduce unfiltered air.
- Confirm what was and wasn’t done. If something was skipped – say, an inaccessible branch inside a wall – the technician should tell you. A clean handoff includes a summary of the whole system’s condition.
- Get their read on repair. If they found loose joints, gaps, or crushed flex runs and didn’t mention it, that’s a signal. We’re one of the few residential duct companies that also repairs ductwork, so we know what warrants attention.
One flat price per system, agreed before work starts, makes this verification much easier. It removes the incentive to rush through a system so a per-vent timer can make its next appointment, and it gives you a fixed budget to plan around. For homeowners in the older neighborhoods of St. Paul, that clarity goes further than any coupon.
The Equipment That Separates a Real Cleaning From a Rush Job
The equipment question is the second-most-useful thing a homeowner can ask about, right after the process question. Consumer-grade vacuums sold at hardware stores tops out around a fraction of the airflow a professional system needs. Truck-mounted high-volume vacuums or heavy-duty portable units from manufacturers like Nikro are built for commercial HVAC work and hold pressure through the cleaning. That’s the difference that shows up when a duct is thirty feet long behind plaster.
For contact cleaning, Rotobrush systems are the standard for residential work. They use rotating whips driven by compressed air to reach into duct runs and break the attached dust layer mechanically. The same tools commercial contractors use on large HVAC systems are scaled for residential ductwork. When a provider is using this equipment on every job – not as an upgrade or a premium tier – the process question and the equipment question have the same answer.
For jobs involving contamination concerns or mold, containment matters. Abatement Technologies equipment allows a cleaning crew to work under negative-pressure containment and prevents contamination from spreading into living spaces during the job. That’s not a scenario every homeowner will face, but if you’ve had water damage, a known mold issue, or a renovation that pushed construction dust deep into the system, it’s the kind of setup the job requires.
Beyond cleaning and repair, the brands behind your indoor air quality products matter over the long run. Honeywell, Aprilaire, and Guardsman products are the ones a serious IAQ specialist knows and works with – filtration upgrades, humidification, and protection products that layer onto the cleaning. A provider who stocks the equipment for a real cleaning and also knows these brands is a provider who can talk sensibly about what happens to your air after the cleaning is done.
When Your Ducts Need Repair, Not Just Cleaning
Cleaning a structurally compromised duct system is a waste of money, because the duct will immediately re-contaminate itself through the compromised joints. St. Paul’s older homes make this scenario common. If a technician cleans around a gap or a crushed run and leaves it, the homeowner has paid for a clean that won’t last.
What to look for, or to ask a technician to check:
- Loose or separated joints, especially at transitions between duct sections and at plenum connections.
- Crushed or kinked flex duct in older retrofit systems, which chokes airflow and traps debris at the bend.
- Tape that has dried out or failed at seams, common in ductwork installed decades ago.
- Ductwork that runs through unconditioned space without adequate insulation, which encourages condensation and debris sticking to the interior.
- Visible gaps at register boots, where the boot meets the wall or floor.
We can diagnose and repair these structural issues as part of the same visit, which changes the value of the job from a periodic maintenance task to a fix that lasts. Few residential duct companies do both. For homeowners who’ve been told their ducts “just need a cleaning” but who can feel a draft or see visible dust at a register, ask specifically whether the provider repairs ductwork – not just cleans around it.
Common Mistakes to Avoid
- Choosing by coupon price alone. A very low advertised price has to be made up somewhere – usually by shortening the job or adding charges once the technician is on site. Ask for a whole-system price before you book.
- Not asking how negative pressure is established. A provider who can’t tell you how they seal registers and what pressure the system holds isn’t doing source removal. This is basic and every serious provider answers it immediately.
- Assuming “truck-mount vacuum” equals professional. A truck-mount vacuum is only as good as the setup behind it. Sealing, agitation, and containment are what make the truck’s airflow useful.
- Cleaning a damaged duct system and expecting results to last. Loose joints and crushed runs undo a cleaning almost immediately. Fix the leak first, or you’ll be calling again in a year.
- Overlooking the dryer vent while the duct technician is present. A dryer vent is a fire-safety system, not just an exhaust tube. Dryer vent cleaning alongside air duct cleaning gets both jobs done at once.
- Forgetting the filter discipline between cleanings. A clogged filter passes more dust downstream than a clean one. In a Minnesota heating season, filter changes come faster than most homeowners expect.
- Accepting a cleaning without visual verification. Before-and-after photos of your own ducts are the single most useful proof-of-work you can ask for. Ask for them before the technician packs up.
See the difference
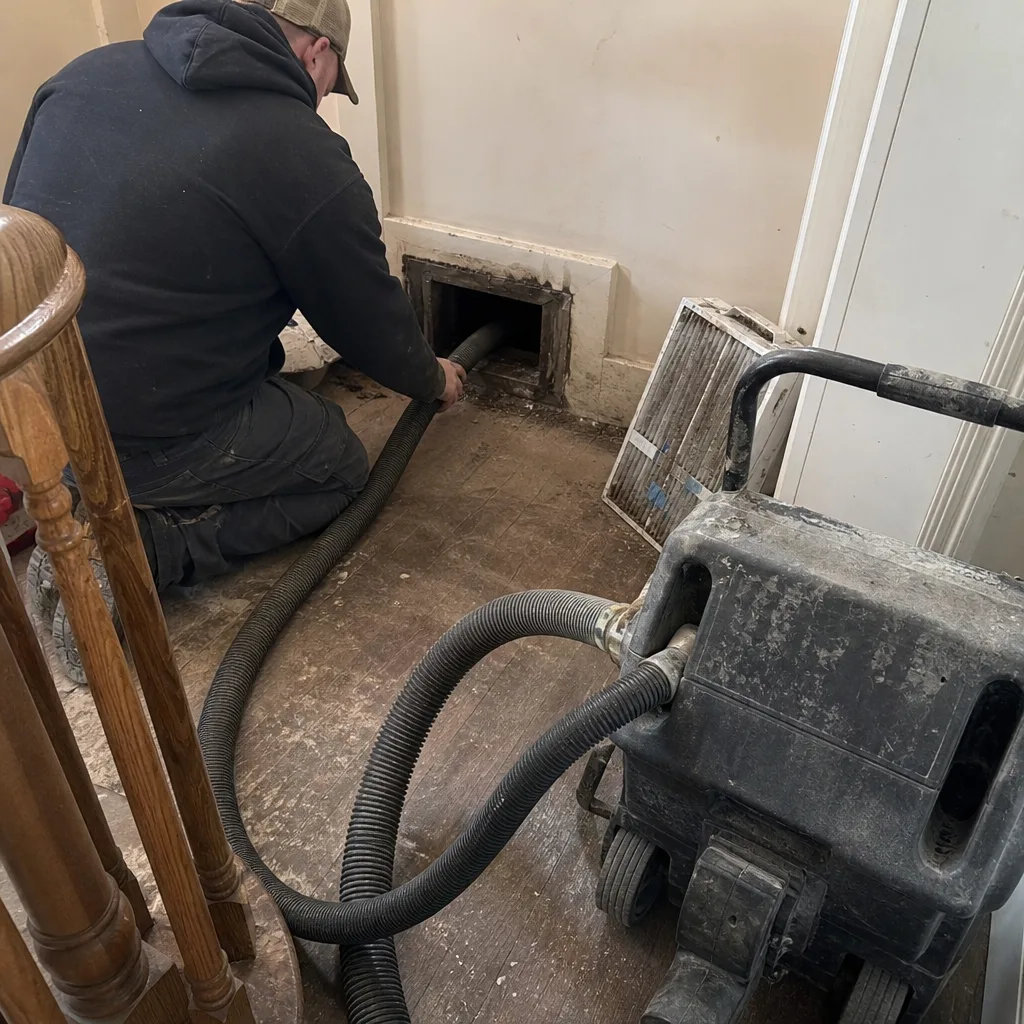 Before
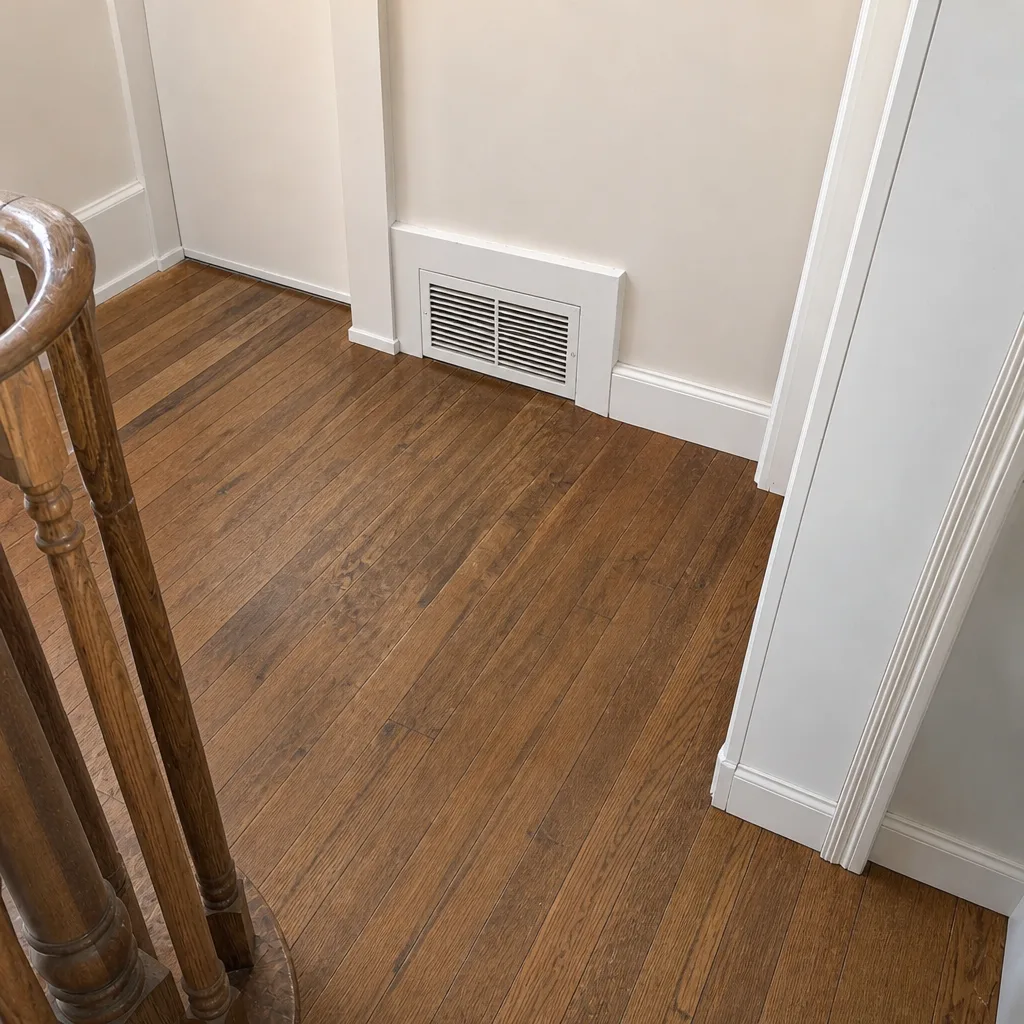 After
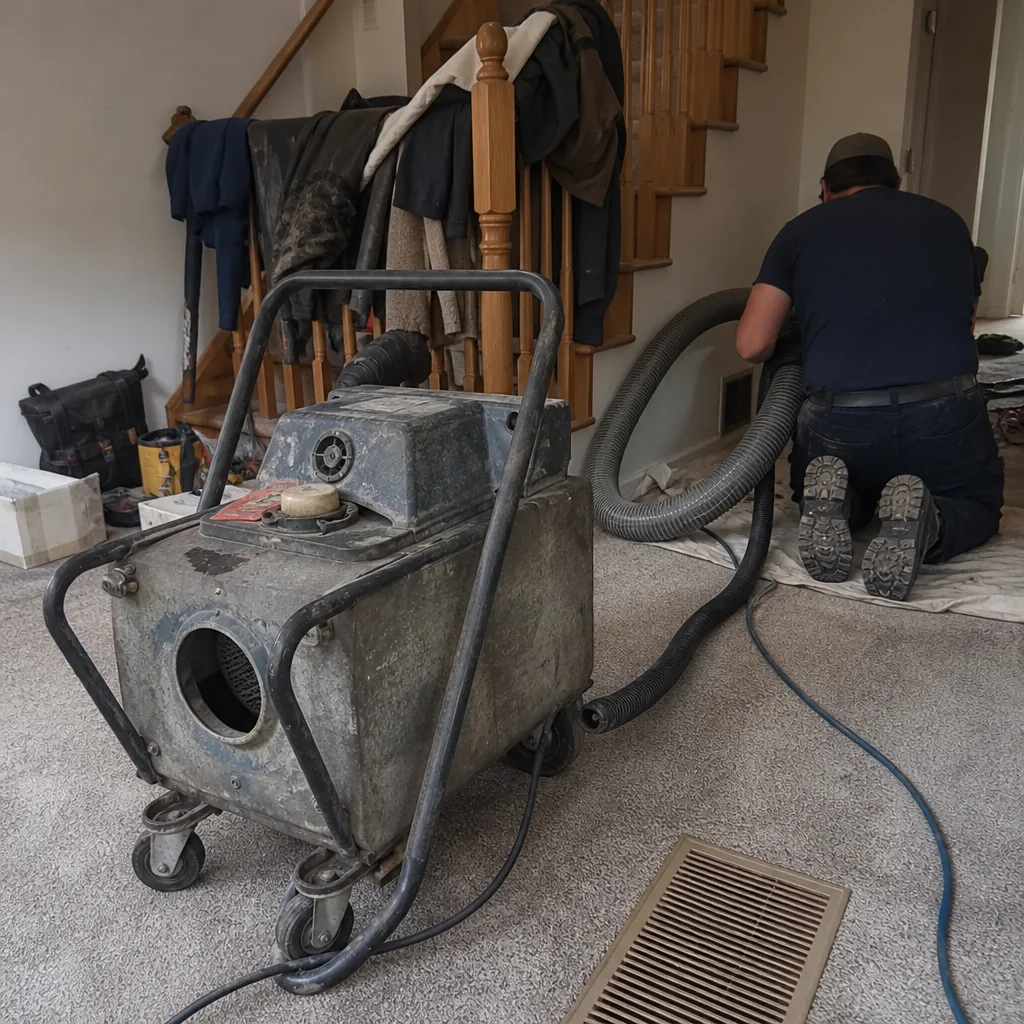 Before
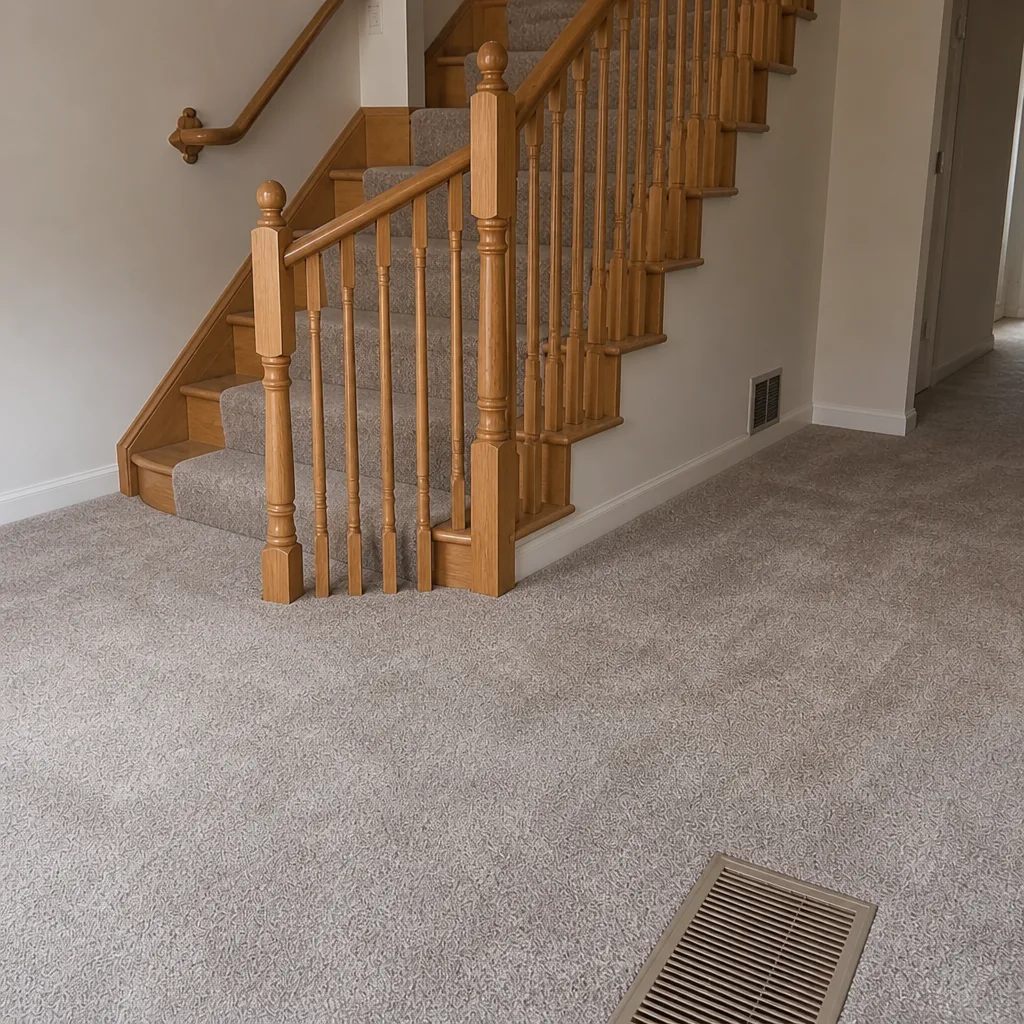 After
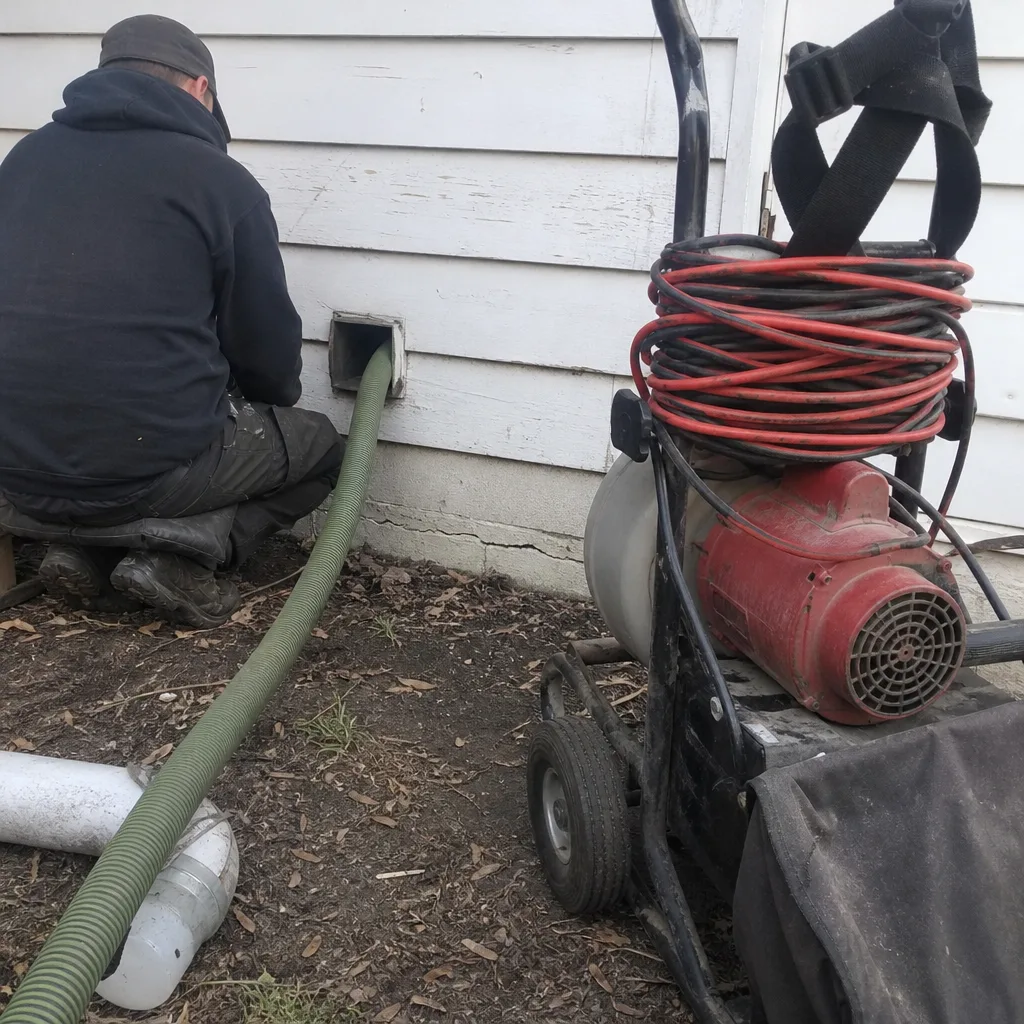 Before
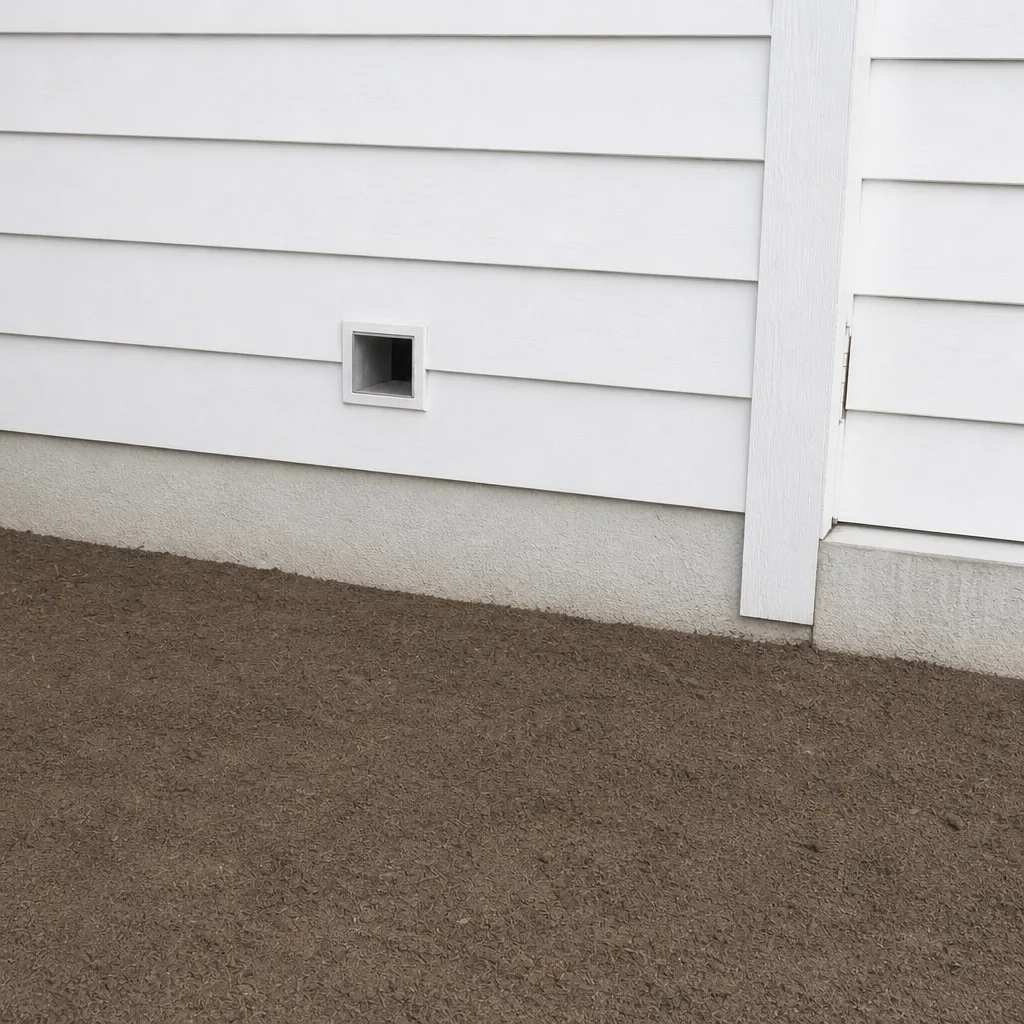 After
When to Call a Professional
Some signs call for a technician, and some don’t. Visible dust puffing out of a supply register when the furnace kicks on, a persistent musty smell from the vents, a recent renovation that pushed construction dust into the system, a home you’ve just moved into and have no history of duct maintenance for, or a family member with allergies who’s getting worse indoors – any of these are reasonable reasons to get the system looked at. So is a duct system that’s never been professionally cleaned in a home older than a couple of decades, common across St. Paul’s pre-1970 neighborhoods. If you can spot visible dust build-up inside a return duct by opening the grille, that’s enough to justify an inspection. You don’t need to wait for a problem to get worse.
Ambassador Air Duct Cleaning offers free estimates in St. Paul – call (888) 501-7655. The estimate is a written quote per system, and the price agreed before work starts is the price.
Frequently Asked Questions
Typical pricing for a whole-home cleaning in St. Paul is quoted per system, not per vent, and it’s set by a written estimate after the technician sees the house. Older pre-1970 homes with long, irregular duct runs often quote higher than newer builds because more work is needed to reach the ends of the system. The estimate itself is free, and the written price sets the final number before any work begins. Call (888) 501-7655 for an exact quote.
Low quotes usually reflect a shorter job, not a better price. A crew that skips meaningful agitation or doesn’t hold negative pressure through the cleaning can finish a house in under an hour – a real cleaning takes longer and costs more to deliver. Before you book the cheapest quote, ask what vacuum pressure the system holds and how registers are sealed. If the answer comes slowly, that’s your answer.
Ask for before-and-after photos of your own ducts, not stock images. Then open a supply register and look into the boot – if the walls are visibly coated, the cleaning was incomplete. The technician should also be able to show you the debris collected and confirm anything that was skipped. One flat price per system and photos on the day are the two things that make a clean handoff easy to trust.
For most St. Paul homes, once every several years is reasonable, and the schedule shifts based on filter discipline, renovations, pets, and whether anyone in the house has respiratory sensitivities. Homes in older neighborhoods where renovation dust is a factor sometimes need more frequent attention. Regular filter changes between cleanings do more to extend the interval than anything else.
Cleaning removes the accumulated dust and debris that hold odors and aggravate indoor air quality, and it often noticeably improves both. It can’t fix a moisture problem or a compromised system on its own – if you’ve had water intrusion or found mold, that requires addressing the source before or alongside cleaning. For those jobs, our containment-capable Ambassador Air Duct Cleaning process is built to handle the scenario.
Yes. A clogged dryer vent is a documented fire risk, not just a slower-drying inconvenience, and it’s a job we handle as part of our residential services. Homeowners who are already having the duct system cleaned often have the dryer vent done in the same visit so both systems are addressed at once. Call (888) 501-7655 for a combined estimate.
The Bottom Line
Duct cleaning in St. Paul is a mechanical process, not a marketing one. Three stages – negative pressure, agitation, source removal – in that order, plus a real check of your system’s condition along the way. Older plaster-and-mixed-metal homes here demand equipment that can hold pressure and reach the far ends of the system, which is why Rotobrush and Nikro systems matter on every job rather than as a premium upgrade. And when the ducts have loose joints or crushed runs, cleaning alone won’t last – repair is part of the work. Judge any provider by their process, their equipment, and their willingness to show you before-and-after photos of your own ducts. Call (888) 501-7655. We answer 24/7. Fast dispatch from 7am to 7pm, Sunday through Friday. Estimates are free, and the written price sets the job.
Written by the team at Ambassador Air Duct Cleaning.